
How To: Get A Structural Floor Design In Under 15 Minutes
A two step process from Architectural Plans to Engineering Design and Drawings
How To: Get A Structural Floor Design In Under 15 Minutes
A two step process from Architectural Plans to Engineering Design and Drawings
Case Study Project
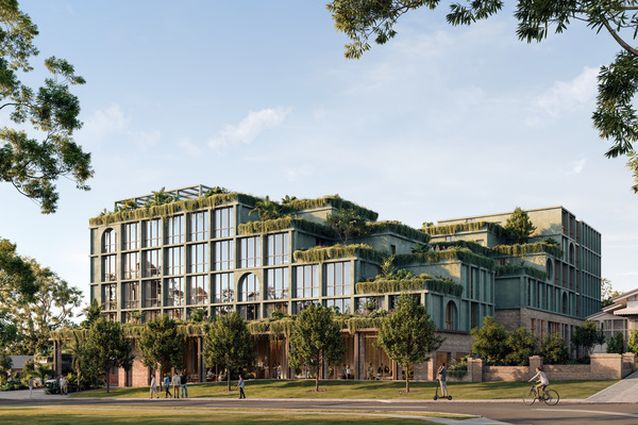
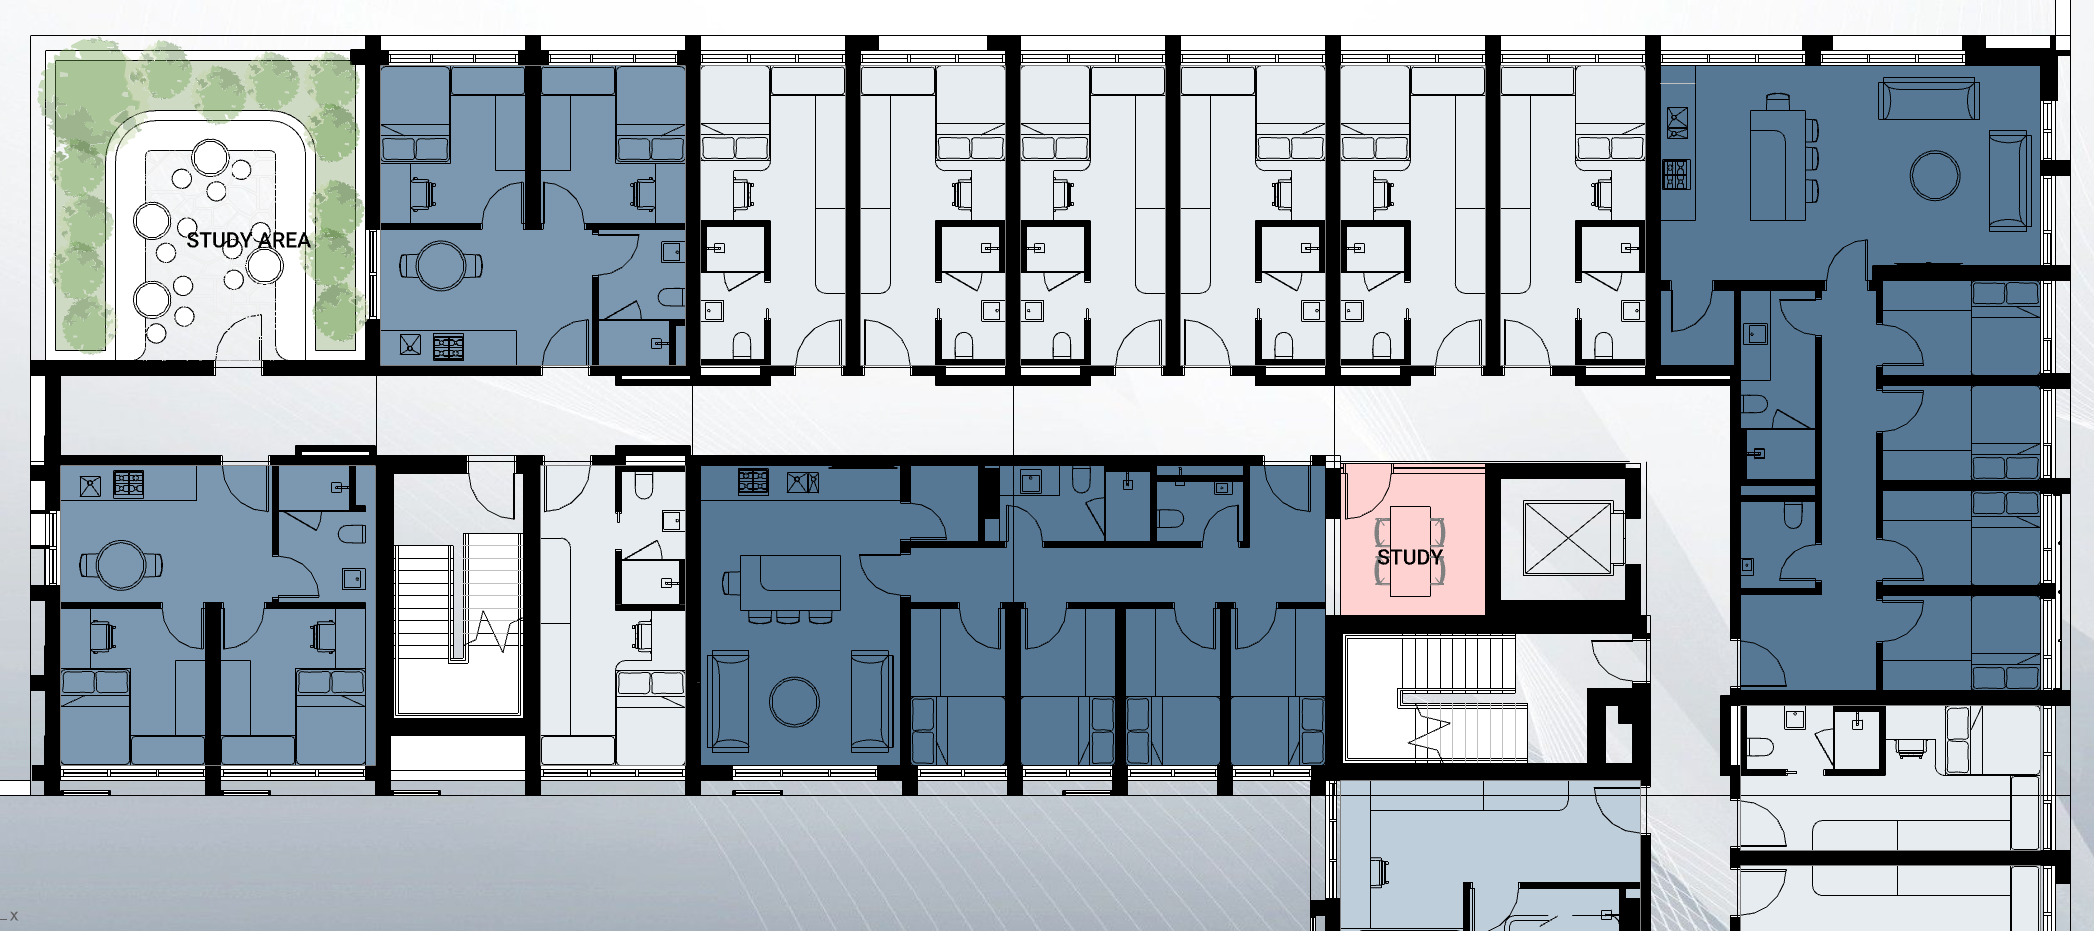
The case study project for this guide can be seen in the images below. We will look at one section of the upper floor shown in the red box.
|

|
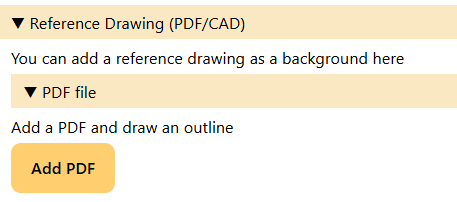
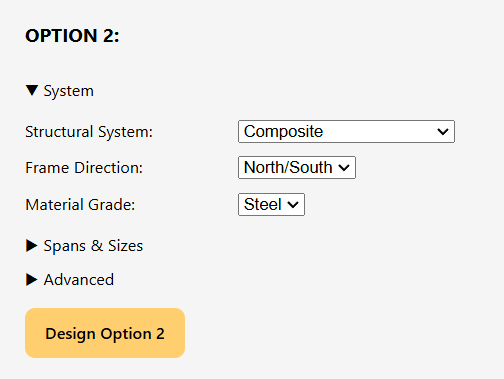
Step 1: Upload a Background & Draw the Outline
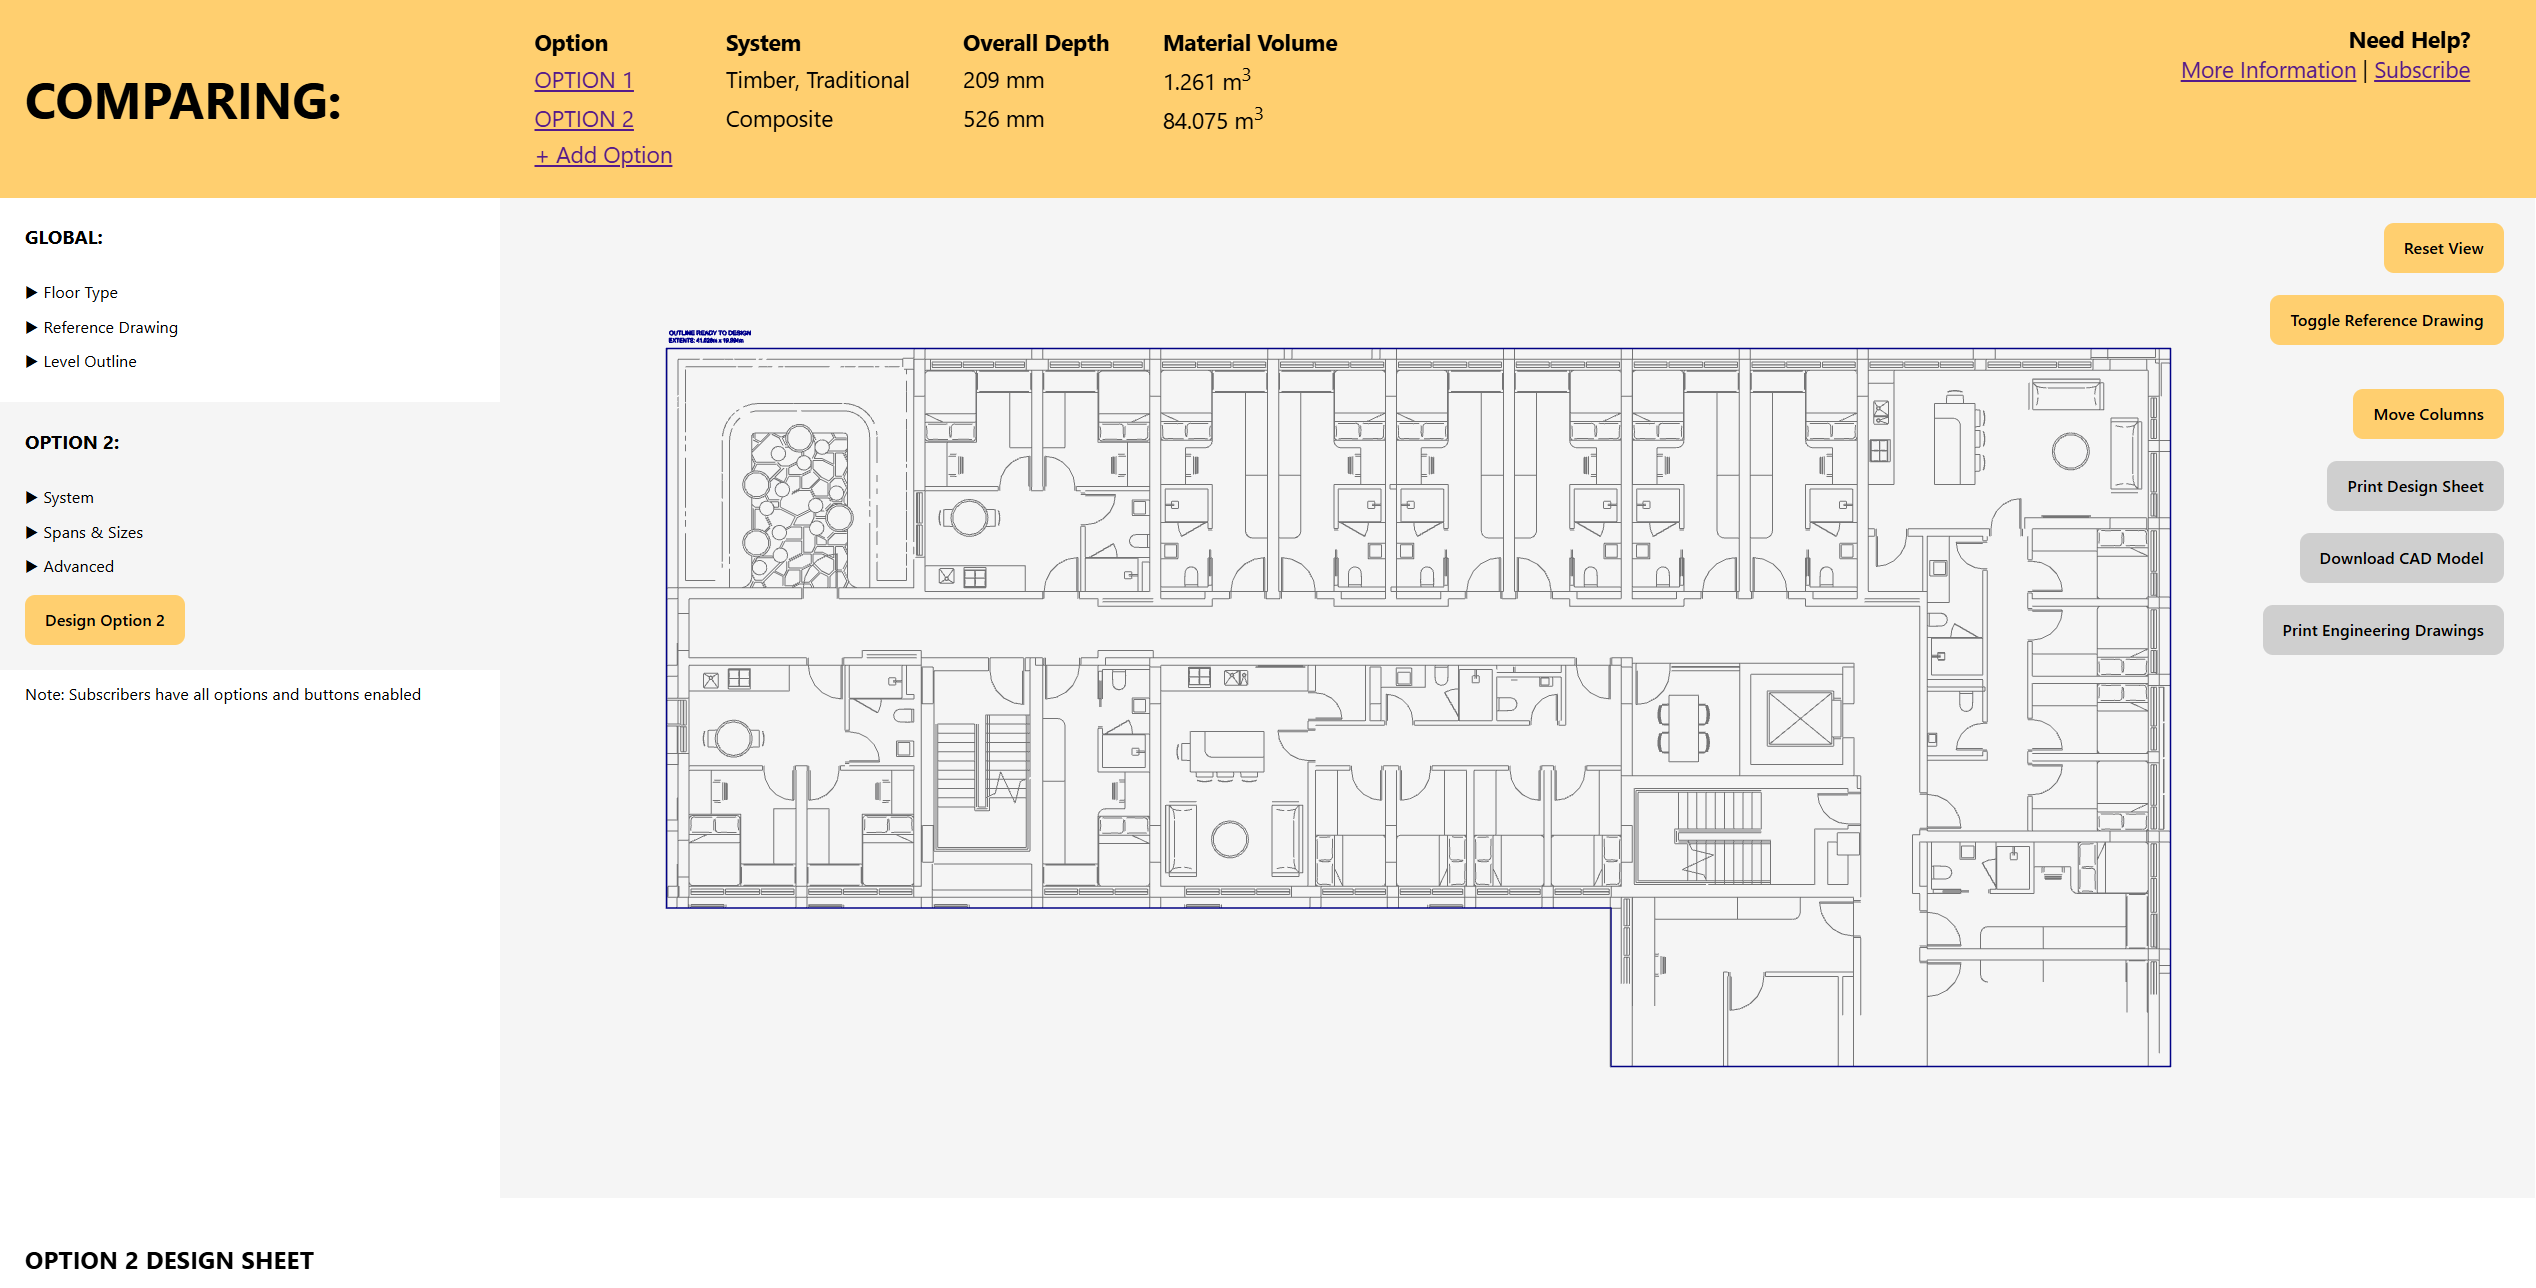
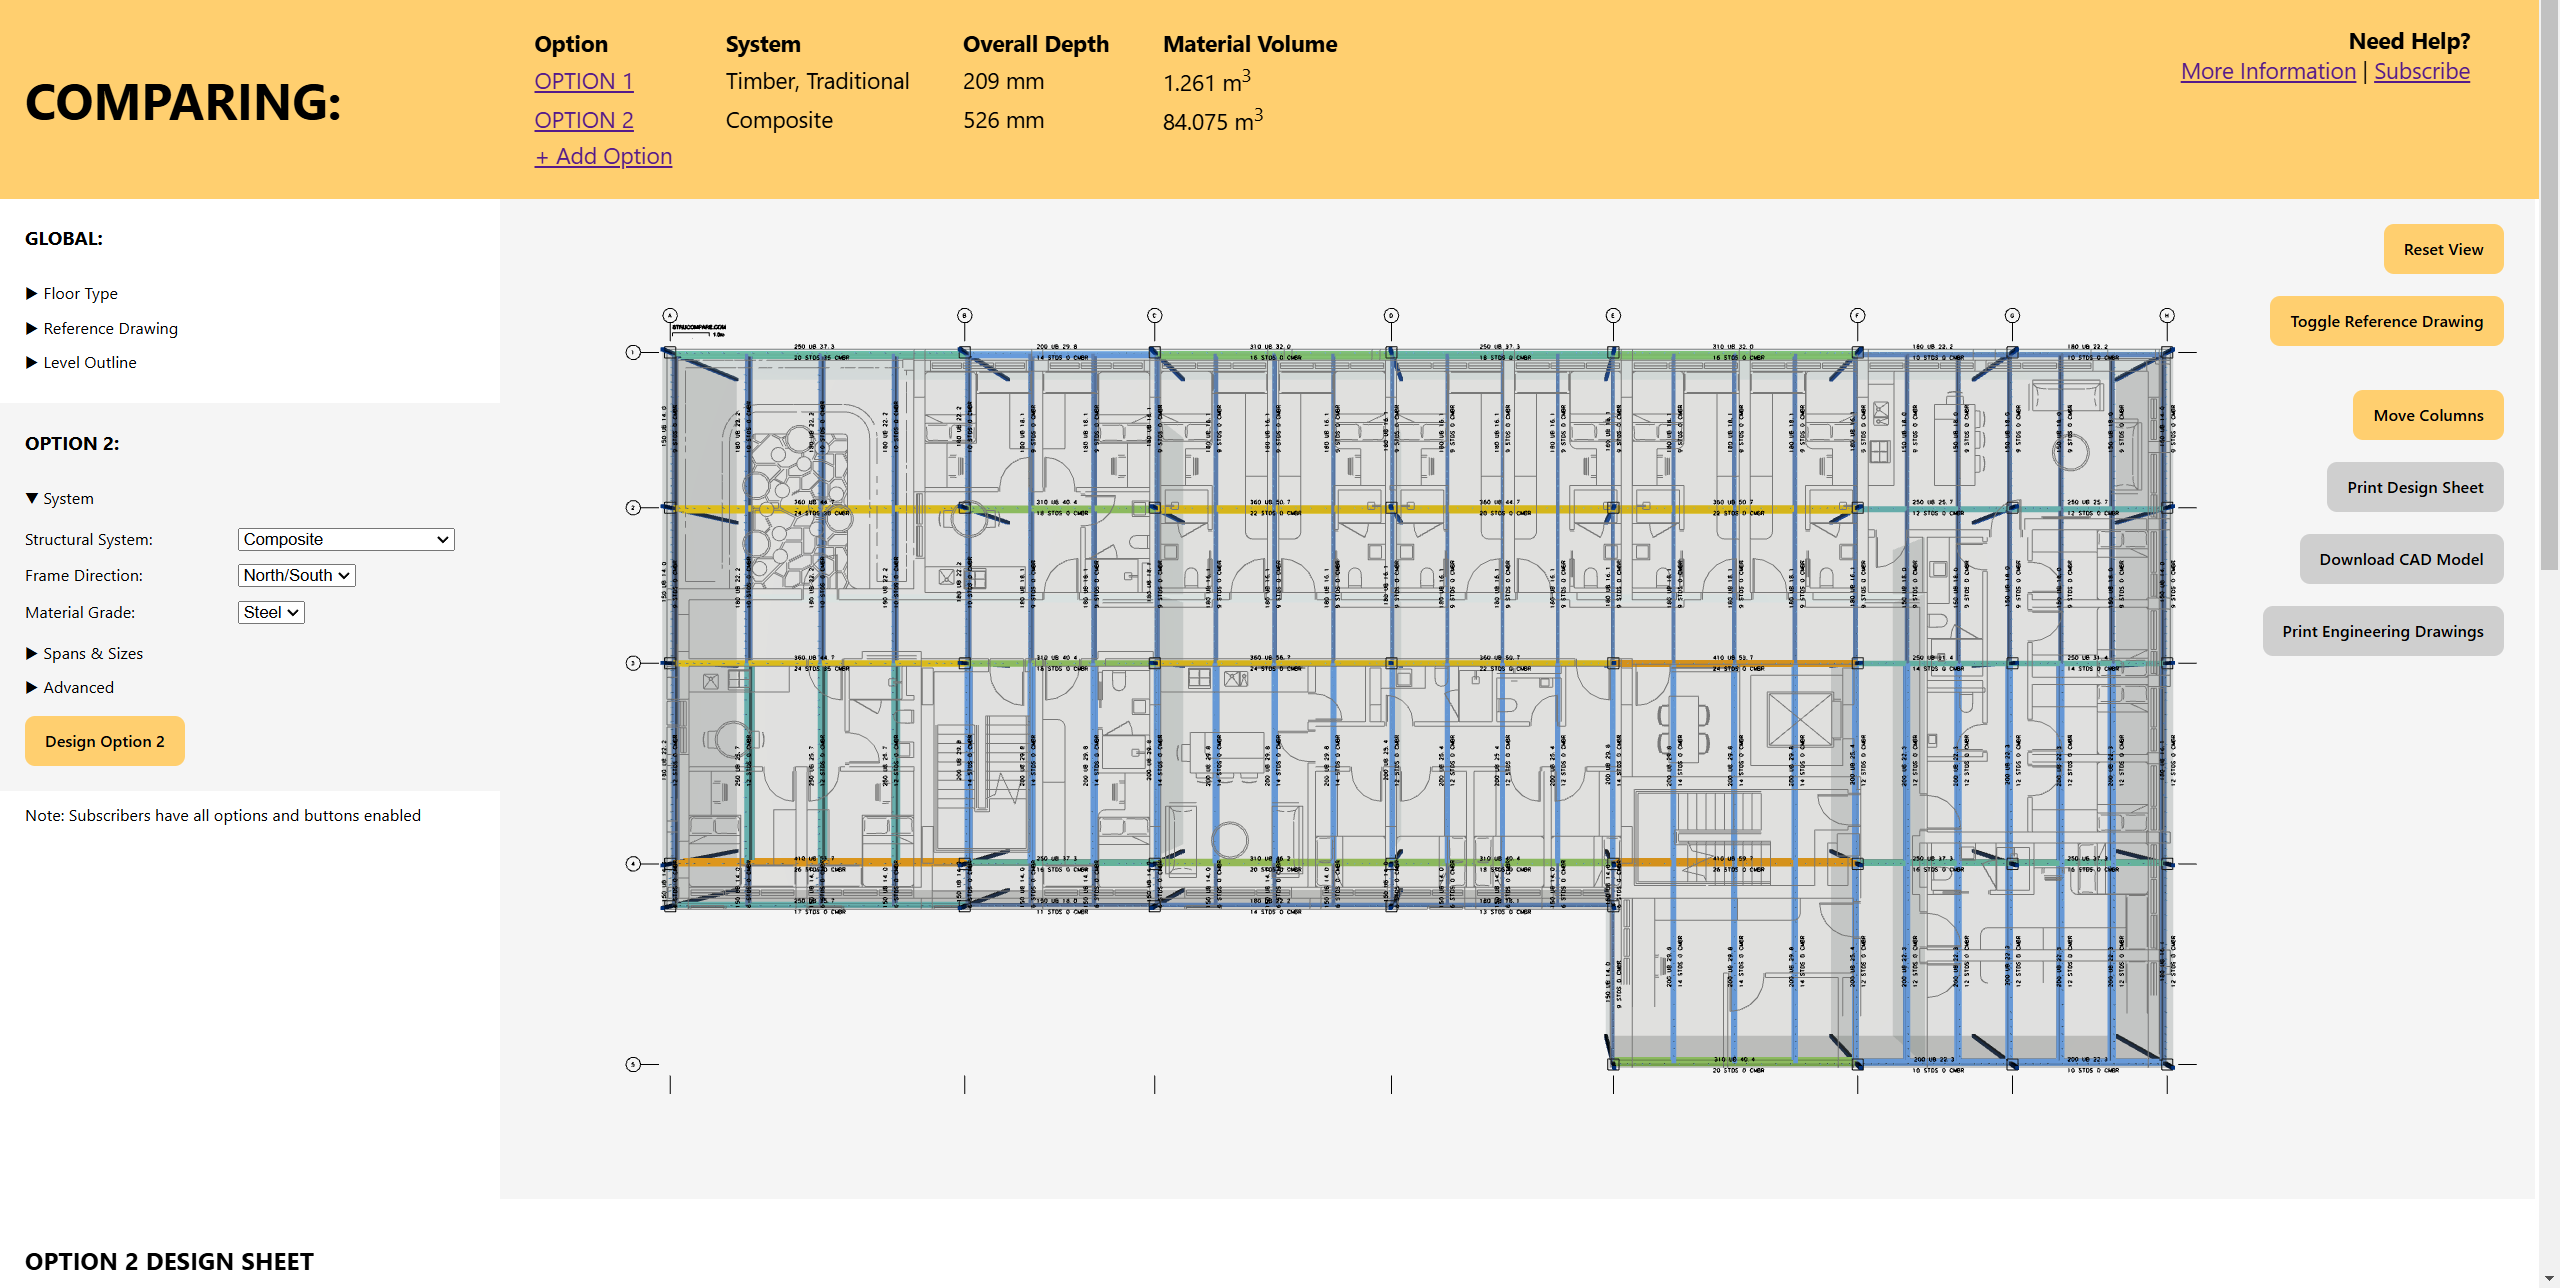
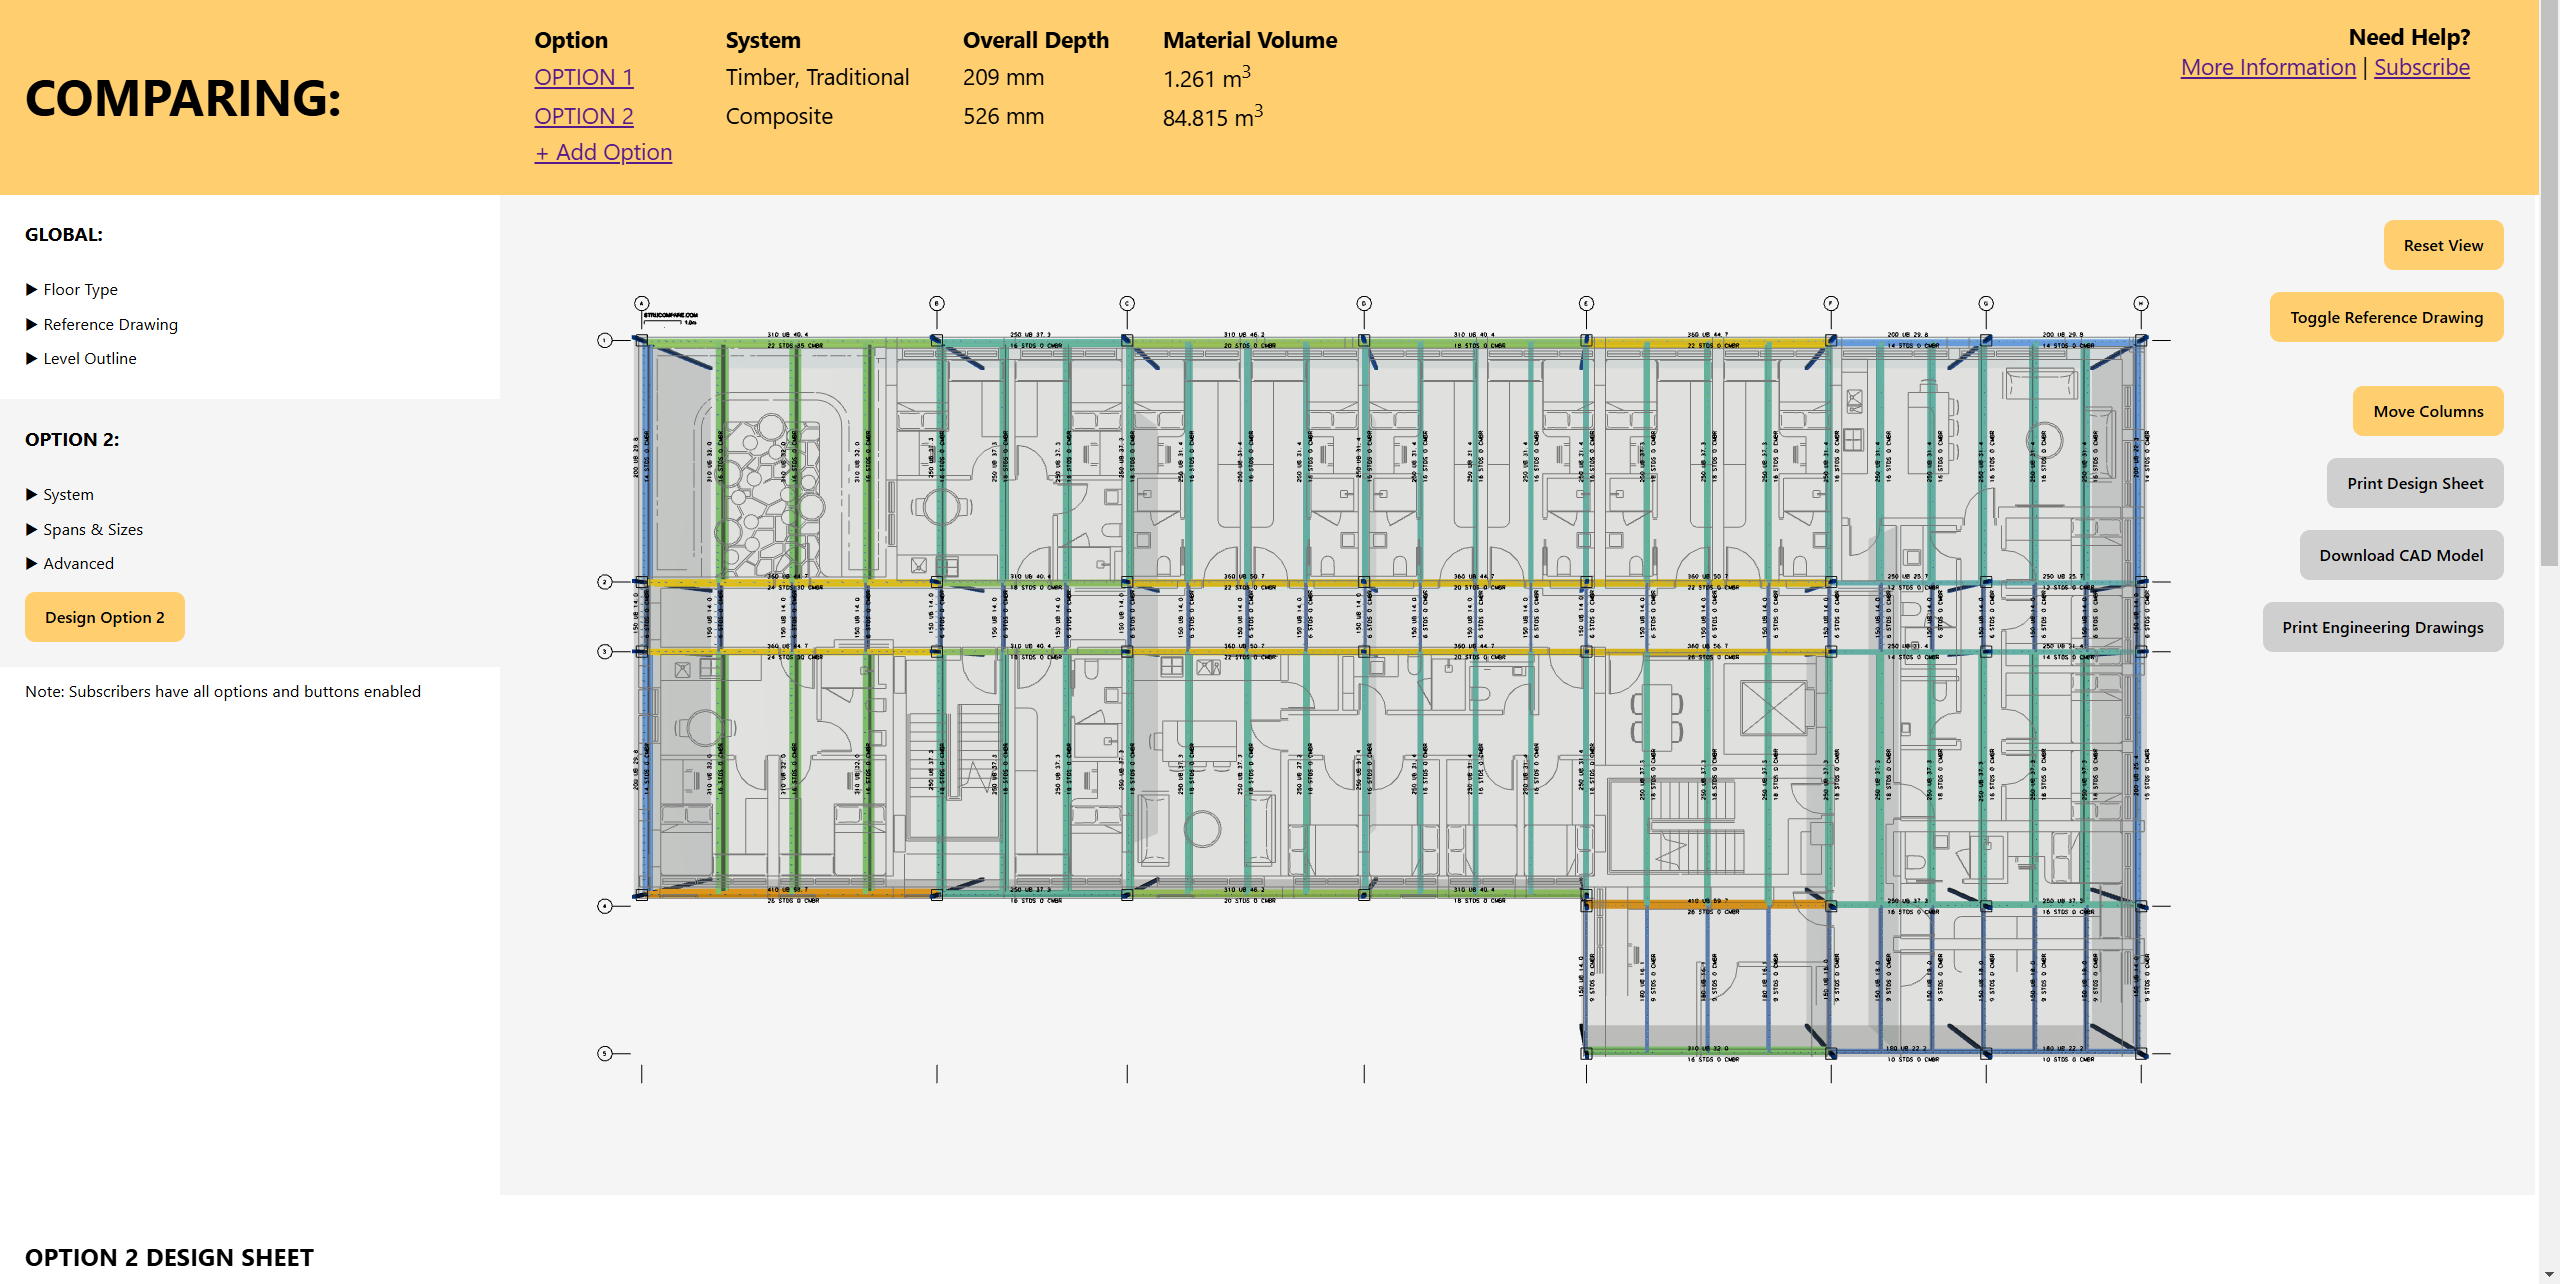
Step 2: Design

Your Projects
Now try this for your projects!
Have a look at www.StruCompare.com where you can start designing for free to instantly access a range of preliminary structural solutions for your building.